
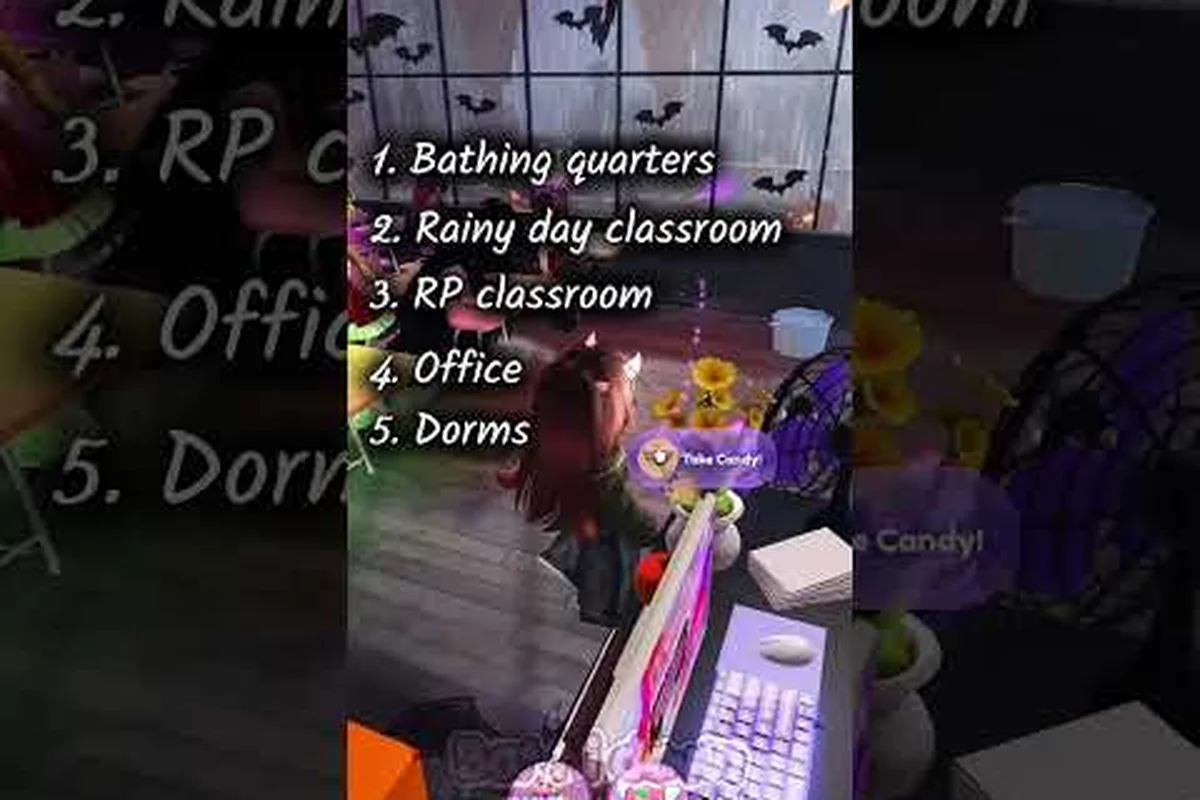
Royale High royallowen is the seasonal bridge between autumn's haunted festivities and winter's Glitterfrost celebration, and understanding how its currencies flow into later rewards changes how you spend every hour in the game. Candy and snowflakes are not just collectibles; they are the primary gateways to limited halos, exclusive sets, and the snowglobe items that define the Royale High event calendar. This guide breaks down the farming routes, haunted item locations, and the exact conversion mechanics so you can maximize your seasonal haul before the event window closes.
Royallowen Candy Farming Routes and Currency Flow
The core of Royale High royallowen revolves around candy, the event-specific currency that appears only during the Halloween season. Candy spawns in fixed clusters across the Wickery Cliffs maze, the main hub for Royallowen activities, and each cluster refreshes on a short timer that players can loop for consistent gains. According to community testing, a full loop through the maze yields between 80 and 120 candy depending on how many hidden corners you hit, which makes route optimization the single most important skill for event farming.
The maze itself is not a simple path; it contains branching corridors, trick doors, and elevated platforms that hide candy behind environmental props. Players who memorize the Wickery Cliffs spawn map can complete a full circuit in under three minutes, while newcomers often spend twice that time wandering through dead ends. The difference compounds quickly because candy converts into diamonds at the end of the event, and every missed cluster represents lost value that cannot be recovered after Royallowen ends.
| Candy Source | Approx. Yield | Reset Time | Notes |
|---|---|---|---|
| Maze floor clusters | 15-25 per cluster | 2-3 minutes | Scattered across main paths |
| Hidden wall alcoves | 10-20 per alcove | 3-4 minutes | Requires close camera inspection |
| Trick-or-treat doors | 25-40 per door | 5 minutes | Random chance to trigger |
| Apple bobbing minigame | 20-30 per round | 90 seconds | Skill-based bonus yield |
| Ghost hunting event | 30-50 per ghost | Event-triggered | Spawns during peak hours |
The candy conversion rate at the end of Royallowen typically lands around 3 diamonds per candy, though this ratio has shifted slightly across different years based on community reports. Because the conversion happens automatically when the event closes, players should spend candy on event-exclusive items before the deadline rather than hoarding it for diamond conversion. The seasonal shop stocks accessories, wings, and occasionally full sets that never return to the regular store, making them the highest-priority purchases for collectors.
Optimizing Your Candy Loop
A well-optimized candy loop starts at the maze entrance and follows a counterclockwise path that hits the highest-density clusters first. The entrance corridor contains three visible clusters that new players often miss because they rush toward the central plaza. After clearing the entrance, move to the pumpkin patch alcove on the left wall, then cut through the graveyard shortcut to reach the back garden where two more clusters sit behind the fountain.
The apple bobbing minigame deserves special attention because it offers the only skill-based candy bonus in Royallowen. Players who consistently hit the center of the bobbing barrel earn an extra 10 candy per round compared to random clicking, and the minigame resets fast enough to weave into any farming route. Community guides recommend alternating between maze loops and apple bobbing to avoid the diminishing returns that come from waiting on cluster respawns.
Haunted Item Locations and the Wickery Cliffs Maze
Royale High haunted items are scattered throughout the Wickery Cliffs in specific locations that reward exploration and patience. These items include the Haunted Wings, Ghostly Aura, and several accessory pieces that only spawn during Royallowen. Unlike candy, which appears in predictable clusters, haunted items require players to interact with environmental triggers such as flickering lanterns, creaking doors, and spectral figures that appear only at certain camera angles.
The most reliable haunted item is the Wickery Cliffs Lantern, which sits on a stone pedestal near the maze's northern exit. Players must approach it from the east side to trigger the interaction prompt, and the item appears in the inventory immediately after a short animation. Other haunted items follow similar hidden-trigger patterns, which is why community maps and video walkthroughs have become essential resources for completionists.
| Haunted Item | Location Clue | Trigger Method | Rarity |
|---|---|---|---|
| Wickery Cliffs Lantern | Northern maze exit | Approach from east side | Common |
| Ghostly Aura | Central graveyard | Stand on marked grave for 5 seconds | Uncommon |
| Haunted Wings | Rooftop of abandoned chapel | Climb via broken ladder | Rare |
| Spectral Crown | Behind waterfall alcove | Wait for moon phase shift | Epic |
| Phantom Scythe | Hidden crypt entrance | Solve candle puzzle | Legendary |
The Phantom Scythe is widely considered the most difficult haunted item to obtain because it requires solving a candle puzzle that resets if any step is performed out of order. According to player reports, the correct sequence involves lighting the candles from shortest to tallest, then extinguishing the center candle before the timer expires. The scythe appears in a burst of purple particles, and missing the pickup window forces a full puzzle reset.
Navigating the Maze Efficiently
The Wickery Cliffs maze punishes players who rely on visual landmarks alone because several corridors shift position when the in-game clock strikes midnight. This shifting corridor mechanic means that a route that works at 11:50 PM may dead-end at 12:05 AM, forcing players to adapt their navigation on the fly. Experienced farmers recommend using the fixed stone arches as anchor points because these structures never move, even when the surrounding walls rearrange themselves.
A Royale High event chests guide can help you identify which chests in the maze contain permanent rewards versus seasonal currency, but the core navigation strategy remains consistent across all Royallowen iterations. The maze rewards players who slow down and inspect corners rather than sprinting through the main corridors, because the highest-value haunted items are almost always tucked into spaces that require deliberate camera manipulation to spot.
Snowflake Collection and the Glitterfrost Connection
Royale High snowflakes function as the winter counterpart to candy, appearing during the Glitterfrost event that follows Royallowen in the seasonal calendar. The connection between these two currencies matters because some items purchased with candy during Royallowen carry over into Glitterfrost as decorative pieces or trade fodder. Snowflakes spawn in outdoor areas around the winter map, with the highest concentrations appearing near frozen ponds, snow-covered rooftops, and the central Christmas tree.
The snowflake collection mechanic differs from candy farming in one crucial way: snowflakes drift downward from the sky rather than sitting in fixed clusters. Players must catch them mid-air or collect them from the ground where they land, which creates a more dynamic farming experience. Community data suggests that the optimal snowflake route circles the Glitterfrost Plaza because the open area allows players to spot falling snowflakes from a distance and intercept them before they despawn.
| Snowflake Source | Approx. Yield | Collection Method | Best Time |
|---|---|---|---|
| Falling from sky | 1-3 per flake | Walk through mid-air | Constant |
| Frozen pond surface | 5-10 per sweep | Slide across ice | Early morning |
| Rooftop drifts | 8-15 per rooftop | Climb and collect | After snowfall |
| Gift boxes | 20-40 per box | Open during event | Random spawns |
| Snowman minigame | 15-25 per round | Complete building task | Every 3 minutes |
The snowglobe is the most sought-after Glitterfrost item because it serves as both a decorative accessory and a status symbol within the trading community. Players obtain the Royale High snowglobe by collecting a specific number of snowflakes and exchanging them at the winter event shop, though the exact threshold has varied across different Glitterfrost iterations. The snowglobe displays a miniature winter scene that animates when equipped, and its trading value typically spikes in the weeks following the event's conclusion.
The Snowglobe and Glitterfrost Rewards
The Royale High snowglobe connects directly to the broader Glitterfrost reward structure because it often appears as a prerequisite or bonus item for completing winter collections. Players who collect the snowglobe early in the event can use it to unlock additional dialogue options with event NPCs, which sometimes leads to bonus snowflake rewards or exclusive accessory drops. According to community reports, the snowglobe also functions as a light source in dark areas of the winter map, making it a practical tool for navigation during nighttime farming sessions.
A Royale High royalween guide covers the full event timeline from Royallowen through Glitterfrost, but the key takeaway for currency planning is that snowflakes and candy never overlap. Royallowen ends before Glitterfrost begins, which means players must decide whether to spend their candy on Halloween items or convert it to diamonds before the winter event starts. This forced choice creates a strategic layer that rewards players who plan their seasonal spending in advance.
Seasonal Event Strategy and Currency Optimization
The most effective Royale High royallowen strategy treats the event as a two-phase operation: first, maximize candy and haunted item collection during the active window; second, position yourself for Glitterfrost by understanding which Royallowen items retain value in the winter economy. Players who focus exclusively on candy farming often miss haunted items that later become trade currency, while completionists who chase every haunted item may fall behind on the candy totals needed for top-tier shop purchases.
The seasonal currency hierarchy places limited halos at the top, followed by full sets, individual accessories, and finally diamond conversion at the bottom. Because halos require enormous currency investments or rare fountain luck, most players should target the mid-tier rewards that offer the best value-to-effort ratio. Community data consistently shows that the Royallowen accessory bundle provides the highest return on candy investment because its individual pieces retain strong trading value throughout the following year.
| Priority Tier | Target Items | Currency Cost | Long-Term Value |
|---|---|---|---|
| S-Tier | Limited halo | 10,000+ candy | Extremely high |
| A-Tier | Full event set | 3,000-5,000 candy | High |
| B-Tier | Accessory bundle | 1,000-2,000 candy | Moderate |
| C-Tier | Individual accessories | 200-800 candy | Low to moderate |
| D-Tier | Diamond conversion | Any amount | Fixed rate |
The diamond conversion fallback should only be used for leftover candy that cannot reach the next purchase threshold. Because the conversion rate is fixed and often less favorable than the trading value of even common event items, players who convert large candy balances are effectively leaving value on the table. The exception is players who need diamonds immediately for non-event purchases, in which case the guaranteed conversion beats holding onto candy that will expire when the event ends.
Time Management During the Event Window
Royallowen typically runs for three to four weeks, which creates a natural pressure to optimize daily farming sessions. The daily reset timer refreshes minigame rewards and certain candy clusters at midnight server time, so players who log in shortly after the reset can claim the freshest spawns before competition increases. Community reports indicate that the first two hours after reset offer the highest candy-per-minute rates because fewer players are competing for the same clusters.
The Royale High beginner guide provides foundational tips for new players who are experiencing their first Royallowen, but the event-specific strategy comes down to consistency over intensity. Players who farm for 30 minutes daily across the full event window typically earn more total candy than those who attempt marathon sessions on weekends, because the respawn timers and minigame cooldowns favor steady engagement over burst activity.
Frequently Asked Questions
When does Royale High royallowen start and end?
Royallowen typically begins in early October and runs through the first week of November, though exact dates shift slightly each year based on the developer's update schedule. The event ends with an automatic candy-to-diamond conversion, so players should spend their candy before the final day to avoid losing value.
How do I get the Royale High snowglobe?
The snowglobe is obtained during Glitterfrost by collecting snowflakes and exchanging them at the winter event shop. The exact snowflake threshold has varied across different years, but community reports consistently place it in the 2,000 to 3,000 snowflake range. The snowglobe also unlocks bonus dialogue options with winter event NPCs.
What are the best Royale High haunted items to collect?
The Phantom Scythe and Haunted Wings are the most valuable haunted items because they are rare, visually distinctive, and command strong trading prices after the event ends. The Wickery Cliffs Lantern is the easiest to obtain and serves as a good starting point for players new to haunted item hunting.
Can I farm Royale High candy and snowflakes at the same time?
No, the two currencies never overlap because Royallowen ends before Glitterfrost begins. Players must finish their candy farming and spending before the winter event starts, which creates a strategic decision point around whether to convert leftover candy to diamonds or spend it on Halloween items.
Does the Royale High snowglobe have any special function?
The snowglobe displays an animated winter scene when equipped and functions as a light source in dark areas of the winter map. It also unlocks additional dialogue options with Glitterfrost NPCs, which can lead to bonus snowflake rewards or exclusive accessory drops according to community testing.